
Last updated on March 17th, 2021 at 10:56 am
Yogurt. Delicious, creamy, and nutritious, loaded with beneficial bacteria and good protein.
But the stuff you buy in the store can also be loaded with unwanted thickeners and sweeteners. Some packaged products do not even contain the live and active cultures that yogurt is known for, and you have to be a careful package reader to know for sure!
Not to mention grocery store prices that are often around 25 cents per ounce, compared to 2 or 3 cents per ounce for the cost of milk.
So why not try your hand at making yogurt at home with your Instant Pot?
Homemade yogurt tastes so much fresher than store-bought! And you know exactly what is in it. You get to control the sweetness level and flavor. And you know without a doubt that the cultures are live and active because those little guys just produced that creamy, tangy yogurt in your own kitchen!
Although it can seem complicated, making yogurt at home is really a simple process once you understand what’s happening in each step. And you can even make yogurt in your sleep!
The Science of Yogurt
The first thing to understand is that fresh milk from a cow is loaded with beneficial bacteria and enzymes. However, it can easily become contaminated with dangerous pathogens if it is mishandled. Therefore, store-bought milk is pasteurized by heating it up to varying temperatures to ensure it is safe for people to drink and use. Most milk is pasteurized to a standard temperature of 161 degrees Fahrenheit and held for at least 15 seconds to kill off much of the bacteria in the milk. Then when milk is properly refrigerated under 45 degrees, it will remain tasty and food-safe for 12-21 days.
Some milk is pasteurized at even higher temperatures (280 degrees Fahrenheit), thus rendering it completely sterile. This is called Ultra-Pasteurization (UP) or Ultra-High Temperature Pasteurization (UHT). This kills all good and bad bacteria in the milk and allows it to be shelf-stable for months without refrigeration until it is opened.
When you’re making yogurt at home, you are creating an environment that is ideal for the growth of the good yogurt-producing bacteria in your milk. The problem is that this is also the environment for bad bacteria to grow. Therefore, you want to inhibit all the other bacteria in your milk before “planting” those good yogurt bacteria into your milk.
The way to do this is by pasteurizing your milk by heating it up to 180 degrees Fahrenheit to eliminate non-yogurt bacteria right before culturing so the desired yummy, healthy yogurt bacteria are the ones that grow and multiply. You will want a kitchen thermometer like this one for this job.
Then you cool the milk back down to the culturing temperature of between 105-115 degrees.
Next, you add the yogurt starter, which is simply regular, plain yogurt that contains live and active cultures. The fresher this yogurt starter is, the better the result will be.
We use 2 Tablespoons of starter yogurt for every half-gallon of milk or 1/4 cup of starter for a gallon of milk.
Now, maintain the culturing temperature at between 105-115 degrees Fahrenheit for 6-12 hours, depending on how tangy you like your yogurt. This easily done in an Instant Pot or other electric pressure cooker with a Yogurt setting.
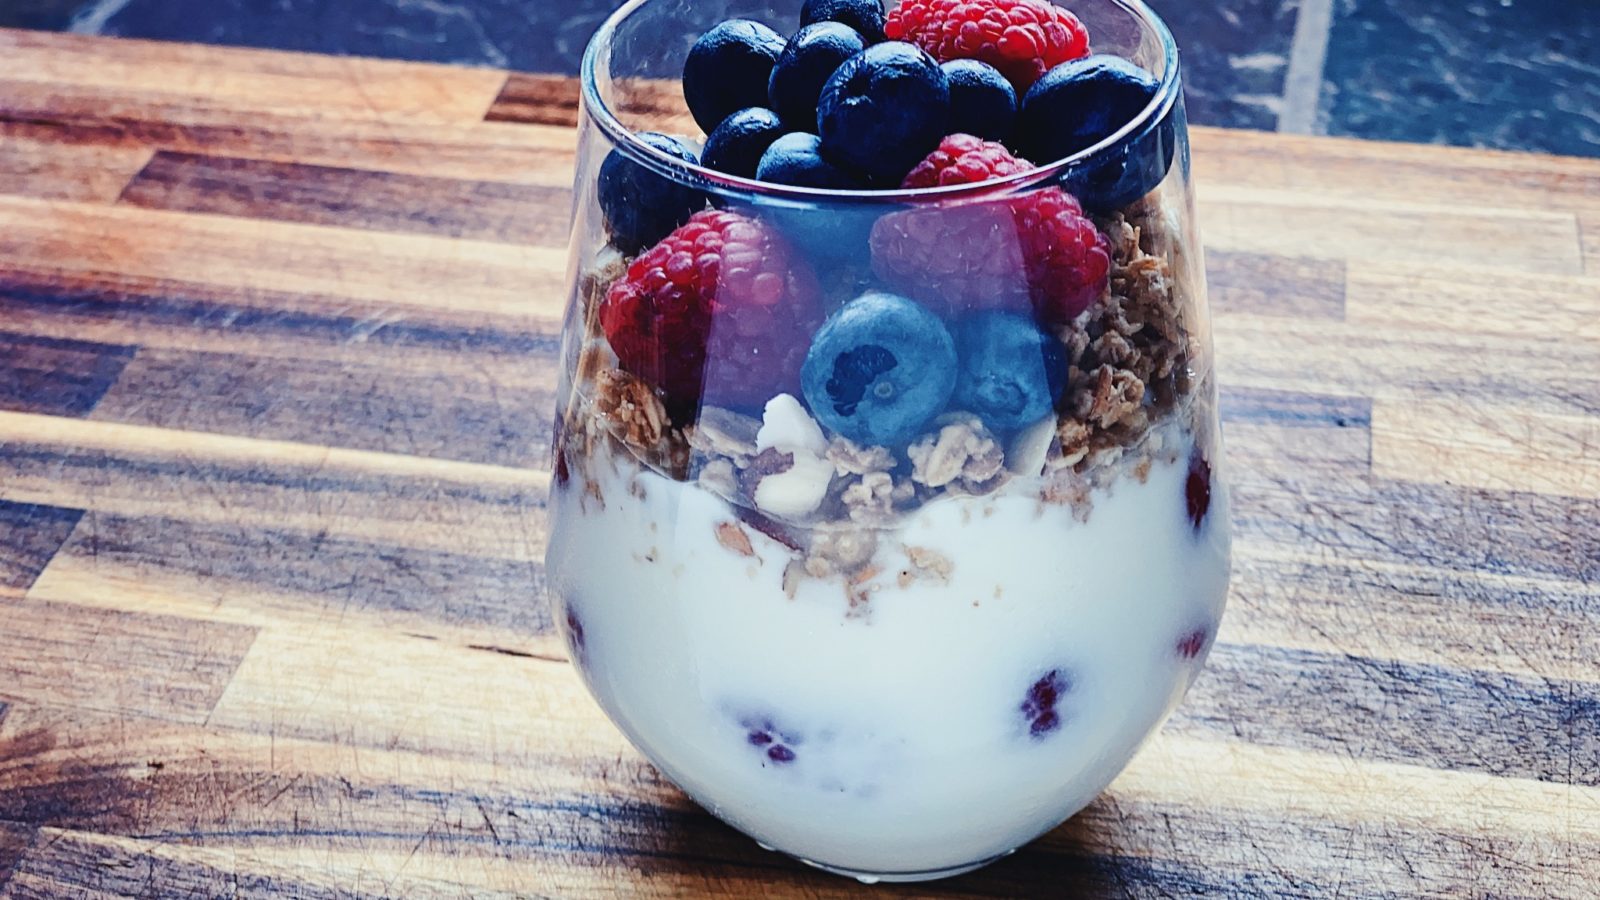
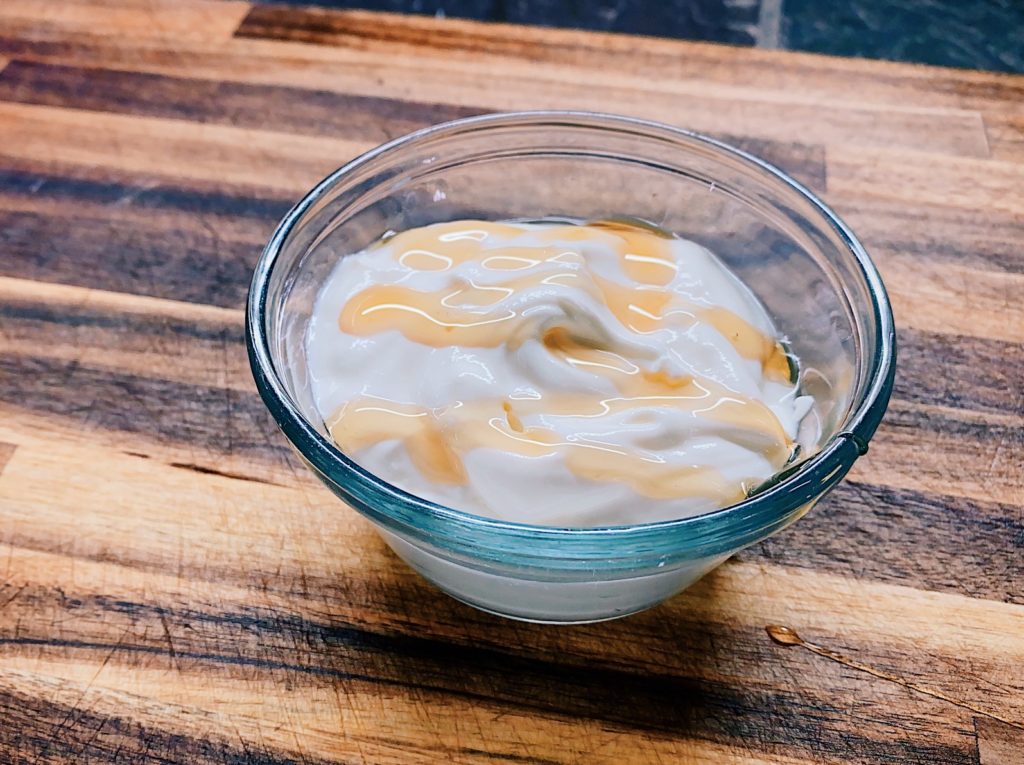
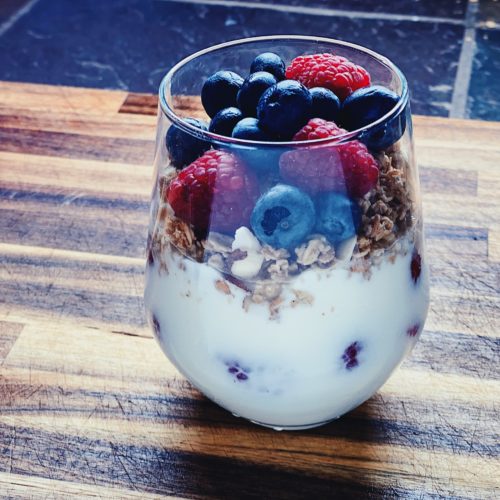
Finally, chill the yogurt to allow it to set properly by placing it in the refrigerator for at least 4-6 hours. Sweeten and add toppings like honey, jam, granola, and fresh fruit. Enjoy!
If you’d like to make your yogurt even more thick and creamy, you can strain it and make Greek Yogurt. Use a cheesecloth and mesh strainer, or this Greek Yogurt maker is fantastic!
Simply place your finished yogurt in the strainer and allow whey to drain off for 10-24 hours, or until it reaches the thickness you prefer. You can always stir some whey back in to thin it out if it gets too thick.
Homemade Yogurt in the Instant Pot
Equipment
- Electric Pressure Cooker with Yogurt setting
- Kitchen Thermometer
- Whisk
Ingredients
- ½ gallon milk whole is best, non-fat is not ideal
- 2 tablespoons plain yogurt that contains live and active cultures
Instructions
Pasteurize the Milk
- Pour milk into cold insert.
- On the Instant Pot, choose the Yogurt program and select "More" to heat the milk to 180°F.
- Whisk milk frequently avoiding scraping the bottom of the p to allow it to heat evenly.
- It should take about 30 minutes for the milk to reach 180°F.
Cool the Milk
- Remove insert from Instant Pot and place it in an ice bath in the sink or a large bowl. Whisk the milk while avoiding scraping the bottom of the pot. Allow the temperature to drop to between 105-115°F.
Add the Yogurt Starter Culture
- Place the yogurt starter in a small bowl.Ladle some warm milk (105-115°) into the starter and whisk to combine.
- Pour starter and milk back into the pot and whisk thoroughly in fully incorporate starter.
Maintain Culturing Temperature
- Dry off outside of inner pot and place it back into Instant Pot and cover.
- Select Yogurt Program again. This time, select "Normal" setting. The display should read 8:00. The Instant Pot will automatically keep the temperature between 105-110°F.
- To adjust the time, press [+] or [-]. More time will result in a tangier yogurt.
Chill Yogurt to Set
- When culturing time is completed, remove lid and insert a knife or spoon into yogurt to make sure it has thickened and cultured properly. A knife should be able to separate the thick yogurt and come out fairly clean. Don't stir yet.
- Place a lid or plastic wrap over the pot and place it in the refrigerator for at least 4-6 hours.
- Remove from refrigerator and stir well for a creamier consistency. Some people enjoy eating without stirring.
- Serve with fruit, berries, honey, sweetener, jam, or granola. Enjoy!
To make Greek Yogurt or Strained Yogurt
- Place chilled yogurt into a mesh strainer, lined with cheesecloth. Place over a bowl that is deep enough to keep the bottom of the mesh strainer out of the whey that will drain off the yogurt. Or use this Greek Yogurt Maker to strain your yogurt.