Last updated on July 28th, 2019 at 09:33 pm
What is the perfect recipe for hard boiled eggs in an Instant Pot? Many friends have become mortal enemies debating this issue, so we’re going to clear it up for you right now.
 I’m going to give you…The Perfect…recipe for hard boiled eggs. Are you ready? Do you have something to write this down?
Here it is:
You’re gonna have to figure it out for yourself!
Here’s why.
- My idea of perfect likely won’t match yours.
- There are many variables that determine how an egg turns out. No two batches will ever be exactly the same.
So I’m going to give you a starting point for how we do our eggs, and then I’ll tell you what factors will affect the result.
Do you need to cook a LOT of eggs at one time? Then check out our epic eggs-periment! You’ll be amazed at how many you can cook in one batch!
You may end up having to get very creative to eat all the eggs you end up with after your tests, but you’ll eventually have YOUR perfect egg recipe.
The Recipe
Here are my step-by-step directions for a complete rookie Instant Pot user:
- Use as many eggs as you need to cook, arranged on the trivet that came with your IP.
- Pour 1 1/2 cups cold tap water in pot.
- Close Instant Pot and set the valve on top to ‘Sealing.’ Press <Manual> or <Pressure Cook> or <Egg>.
- Press <Pressure> to change to LOW pressure.
- Press the minus sign < – > to set the time to 5 minutes. Wait about 10 seconds. It will beep when it starts. The Instant Pot will say ‘On’ on the display. The pot is heating and when it rises to pressure, the float valve will pop up. The display will show the time you entered (5 minutes). It will count down and beep when finished.
- When it beeps, immediately ‘quick release’ (QR) the pot and turn the valve to ‘Venting’. It sounds like a steam locomotive!
- Then open the pot and use pot holders to pull the insert out and place just the stainless steel insert in the sink.
- Fill with cold water, drain as much as possible, refill with more cold water and ice.
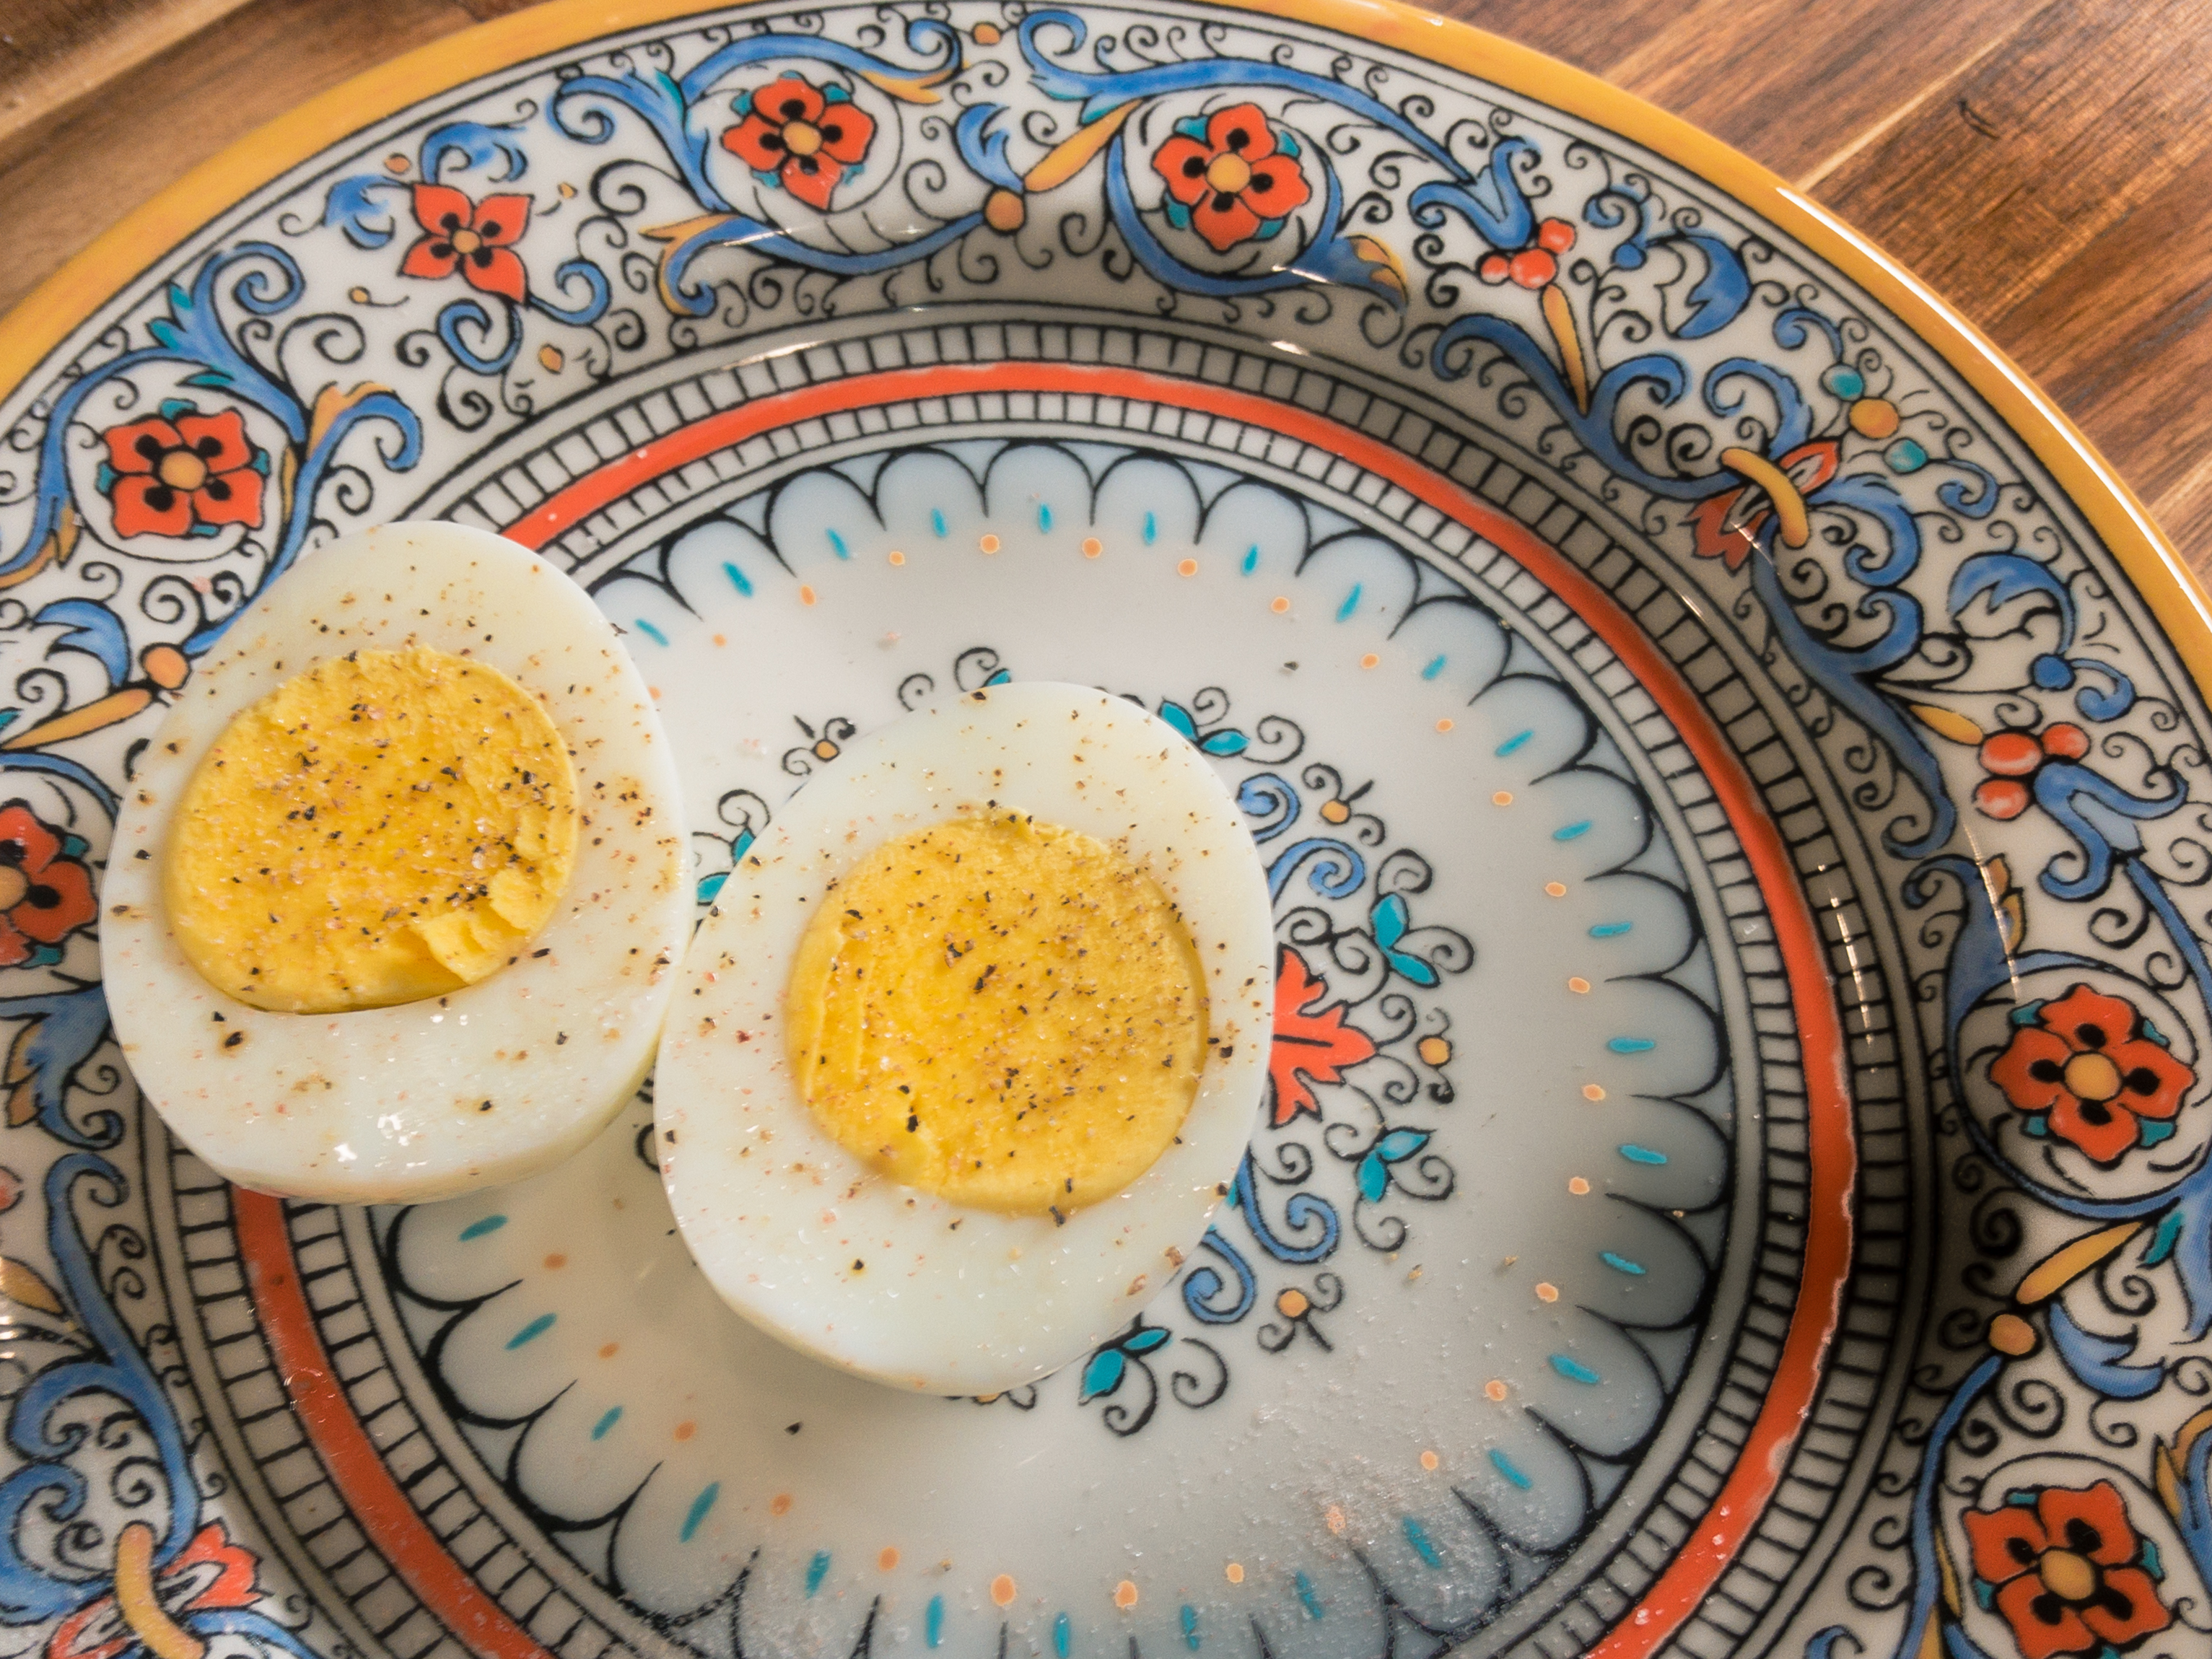
- Peel those beautiful hard boiled eggs.
The Variables
There are 3 primary variables that you’ll need to experiment with.
1. The Egg Size
You’ll find differences among your eggs. Even though all the eggs we purchase are labeled “Grade A Large”, some store’s eggs are smaller than others. The larger the egg, the longer it will take to cook.
2. The Egg Starting Temperature
Do you keep your eggs on the countertop at room temp, or do you keep them in the fridge? The colder the egg at the beginning, the longer it will take to cook.
3. The Tap Water Starting Temperature
Our tap water in Texas is very warm in the summer time, while my mom’s well water in Indiana is a cool 45 degrees year-round. The colder your starting temperature, the longer it will take to come to pressure, which adds time that the eggs are cooking.
We’ve tried before putting hot water in to start, and our finished eggs weren’t cooked enough. Just use cold water for consistent results.
Those are the main variables that you can control. There are also 2 significant variables that you can’t: Your altitude and the weather.
I’ve had batches not turn out like I expected because of changes in air pressure from weather patterns. And if you live in high altitude, you probably already know how to adjust your settings.
How to Perfect Your Recipe
So now you just experiment. Start with the 5 Minute method described above and make a note of your results.
Do you have a grey ring around your yolk? Your egg is overcooked. Try reducing your cook time by a minute and test again.
Is your yolk still too runny for your tastes? Try adding a minute and test again.
The other variable you can experiment with is how long you let it Naturally Release before you Quick Release.
Just make notes on what you did for each batch, make adjustments next time, and you’ll soon have your perfect egg recipe for your kitchen!
So, which settings ended up being the best for you? Leave a comment with your results!

Tools Used
- Pressure Cooker
- Ice or cold water
- Trivet or steamer basket
Ingredients
- Eggs Any number of eggs you want to cook
Instructions
- Use as many eggs as you need to cook, arranged on the trivet that came with your electric pressure cooker.
- Pour 1 1/2 cups cold tap water in pot. Close Instant Pot and set the valve on top to ‘Sealing.’
- Press <Manual> or <Pressure Cook> or <Egg>.
- Press <Pressure> to change to LOW pressure. If your machine has HIGH pressure only, go ahead and use HIGH, but you may want to decrease your pressure cooking time by a minute or so.
- Press the minus sign < – > to set the time to 5 minutes. Wait about 10 seconds. It will beep when it starts.
- The Instant Pot will say ‘On’ on the display. The pot is heating and when it rises to pressure, the float valve will pop up.
- After the pot comes to pressure, the display will show the time you entered (5 minutes). It will count down and beep when finished.
- When it beeps, immediately ‘quick release’ (QR) the pot and turn the valve to ‘Venting’. It sounds like a steam locomotive!
- Then open the pot and use pot holders to pull the insert out and place just the stainless steel insert in the sink. Fill with cold water, drain as much as possible, refill with more cold water and ice.
- Peel those beautiful hard boiled eggs.
- Eat them as-is or make egg salad, deviled eggs, or chop up on a salad.

 Instant Pot Minestrone…Instastrone?
This is absolutely the best post I have seen on boiled eggs in the Instant Pot. Especially right now as everyone is wanting to do tons of eggs for Easter, every group is inundated with questions about how to do it and pictures of the failures. I have said basically the same thing numerous times. My perfect egg for just eating is 2 minutes, QR, ice bath. For deviled eggs, egg salad etc. I add 2minutes NR. I don’t like dry yolks, some people (weirdos) do. The 5-5-5 that is the standard recommend overcooks mine so bad I wouldn’t even let the dog have them. I also think there is enough variance in the appliances that if you put two side by side they will cook differently.
Thanks for reading, Keven! And thank you for sharing your preferences. We like soft-boiled too, but we usually go for harder eggs just so we can have the option of making egg salad with them. My experience has also been the 5-5-5 overcooks the eggs. But you must love your dog more than I do mine, because I’ll gladly give her an overcooked egg! 🙂
And you’re right about the variance. Just in running my tests for this article, I had a couple of batches that just didn’t come out right. I attribute that to those particular eggs in this case.
My first time doing eggs in the IP. I started with 8 jumbo eggs and followed the above instructions. 1 cracked but was still peelable. The rest were the easiest peeling eggs that I have ever had. Thank you.
Great to hear, Rod! Congrats on your success and thanks for the report!
I didn’t know if I could do more than a dozen at a time (didn’t see the eggsperiment until now while looking for a reason for my issue) so I did a whole dozen followed by a half dozen. I cooked them both for the same amount of time, but when peeling the first of the second batch, I was met with an egg that couldn’t even be considered soft boiled. About 3mm of white was cooked near the shell while the rest of the egg was completely raw. I popped them back in for another 4 minutes and the remaining eggs came out fine. Any idea as to why this would happen? Does the Instant Pot need a rest period between batches of more than a couple of minutes? Thanks!!!
Hi Tony,
Thanks for your great question. My question for you is, did you keep the same hot water in the pot and just remove the eggs to do the second batch?
One time, I thought I’d save time, and I used water that was already hot in my Instant Pot to make hard-cooked eggs. I don’t remember for sure, but maybe it was from steaming a batch of potatoes. Well, those eggs weren’t cooked all the way through, as they normally are. I figured that maybe the water and the Instant Pot already being hot led to less overall time coming up to pressure, and that didn’t allow time for my cold eggs to cook all the way through. Could that be the case for your underdone batch?
I wouldn’t think the Instant Pot needs a rest time, as much as it may just need to cool off between batches of eggs. They are really such a delicate food, as they can swing quickly from undercooked to overcooked!
Glad you cooked them longer and got to eat those other eggs anyway!
I think you may be on to something Holly! I didn’t refresh the water and took a guess that some would be gone so tossed a splash more in to the already hot water. I’m thinking that the rest period sounds good…or I just do all the eggs I need at once as I have since read that I could easily hard boil 2 dozen at once without issue. 🙂
You can definitely do 2 dozen at once! Check out our post here to find out just how many eggs you can cook at once: https://thecookingfamily.com/many-eggs-can-make-instant-pot/
So when the eggs are done and you pull them out I am wondering how you do it. It says use a potholder to pull insert out but it is inside the pot which is covered in eggs. You do t use the pot correct?
Hi Wendy!
Thanks for your question! Yes, we use two potholders to pull the stainless steel insert out and take the entire thing to the sink. The video shows exactly how we take it out a little past the 5 minute mark. Then we do an ice bath in the sink, right in the pot. This is the easiest way I’ve found to do it, since we are always making lots of eggs.
Happy cooking!
Holly
THANK YOU, THANK YOU, THANK YOU!
I absolutely agree with Kevin.
This is the first time I tried to boil eggs in my IP. All the IP recipes called for 1-12 eggs. I finally found your rendition for a lot more (I wanted to do 2 dozen). Followed your instructions to a T. Not one cracked egg,, unbelievably easy to peel absolutely perfect! I will forever be grateful to you.