Last updated on February 6th, 2026 at 09:51 am
This gourmet version of our Breakfast Casserole takes it up a notch or two! Creamy goat cheese, sun-dried tomatoes, and fresh spinach are a delicious combination fit for a ladies’ brunch, baby shower, or a holiday breakfast.
Breakfast Casserole w/ Goat Cheese, Sun-dried Tomatoes, and Baby Spinach
A gourmet baked egg and cheese casserole, this is easy to make and can be prepared ahead. Great for serving guests or for a special breakfast. We also love prepping it ahead and having quick breakfasts ready all week.
Servings: 8
Calories: 269kcal
Cost: $10
Equipment
- 1 Mixing bowl
- 1 Whisk
- 1 Blender or Food Processor
- 1 9 x 13 Casserole Dish
Ingredients
- ¾ cup sun-dried tomatoes
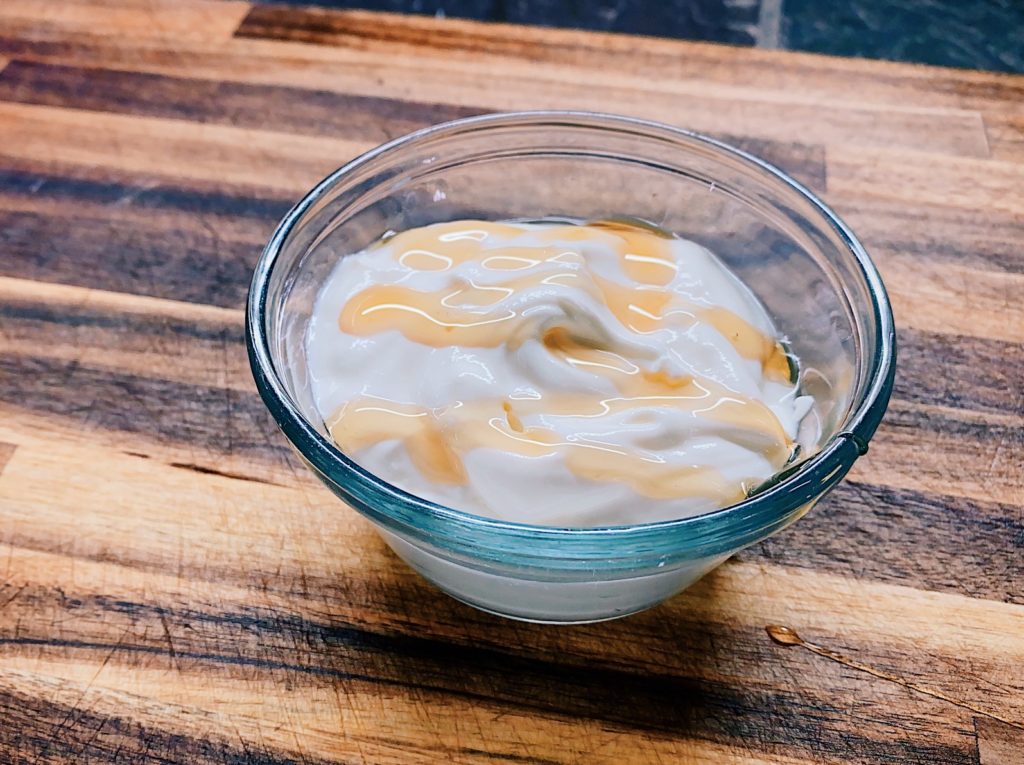
- 2 cups goat cheese, crumbled
- 3 cups fresh baby spinach a cup is about a handful
- 8 eggs beaten well
- 1½ c. milk
- 1 tsp. salt
- ¼ tsp. black pepper
- 1¼ t. dry ground mustard
Instructions
- Preheat oven to 300°F.
- Grease baking dish.Layer spinach, sun-dried tomatoes, and goat cheese in casserole dish.
- Beat eggs with milk, salt and mustard—blender or food processor works best for this. Pour mixture over veggies and cheese (make sure veggies are well-covered).
- Cover and chill 8 hours or overnight. (Optional–see notes.)
- Uncover and bake at 300° for 60 minutes, or until set (bubbly).
- Cut into squares and serve. We love serving with salsa, hot sauce, or chili garlic sauce at the table.
Notes
This casserole is best when made ahead and then just pop it in the oven when you’re ready to serve it. However, I’ve put this casserole together and baked it immediately many times and it still tastes fantastic.
Nutrition
Calories: 269kcal | Carbohydrates: 9g | Protein: 19g | Fat: 18g | Saturated Fat: 11g | Polyunsaturated Fat: 1g | Monounsaturated Fat: 5g | Trans Fat: 0.02g | Cholesterol: 195mg | Sodium: 547mg | Potassium: 561mg | Fiber: 2g | Sugar: 7g | Vitamin A: 2042IU | Vitamin C: 7mg | Calcium: 182mg | Iron: 3mg
Breakfast Casserole w/ Goat Cheese, Sun-dried Tomatoes, and Baby SpinachRead More